- Save
-
-
What Are You Saving For?
We all know how important saving money is. Whether you’re a dedicated saver or just beginning to build your savings; we offer a variety of safe and secure savings plans to help your money grow.
-
Savings Accounts
-
Open an Account Online
When you join AMOCO Federal Credit Union you begin your membership by opening a basic savings. This account establishes your ownership in the credit union and is the foundation you can build on to achieve your financial goals.
-
-
- Spend
-
-
What Are You Spending For?
Spending money is a daily part of living; however, smart spending allows you to save for your future. At AMOCO, we believe in investing in you and helping you build your nest egg to take care of yourself and your family.
-
Spend Accounts
-
Want Affordable Checking?
We believe that checking should be made simple, so we have one FREE checking account for all of our members. That’s right, no minimum balance requirements, no direct deposit requirements, no monthly service fee and unlimited transactions!
-
-
- Borrow
-
-
What Are You Borrowing For?
Our goal to make your financial dreams come true. Whether you are purchasing your first car, looking for a great credit card or want to own vacation homes, we help you fund your future.
-
Loans
-
Apply for a Loan Online
At AMOCO, we have loans for your wants and needs. We work hard to provide members with high-quality service, lower rates, and flexible payment options so you can get the most for your money.
-
-
- Insure
-
-
Protect What Matters!
Prepare for the unexpected. Our insurance plans can help you save big while offering excellent coverage. Don’t wait until it’s too late – contact us today to learn more about your options.
-
Insurance
-
Explore Coverage Plans
We’ve broadened our insurance offerings by partnering with reputable organizations. Let us help you find the coverage you need for the things that matter most to you. And the best part? You can potentially save hundreds of dollars annually.
-
-
- Invest
-
-
Invest In Yourself!
Plan our financial dreams – from saving for college to planning retirement. We’ll discover where you want to go and how you will get there.
-
Start Investing
-
Manage Your Investments
Through LPL Financial, you have the ability to manage multiple types of investments, access your account anywhere, anytime and partner with a professional to help understand your unique financial situation.
-
-
- ACCESS MY ACCOUNT
- Special Offers
Get the Most Out of Our eBranch
These step-by-step guides will help you get the best eBranch experience. Get started with online banking or download the AMOCO App.

eBranch Tutorials
Bank any time, from anywhere
Manage your finances 24-hours a day using our free, fast, and secure Online Banking service. From the comfort of your own home or office, you can transfer funds, pay bills, build a budget, and manage all of your AMOCO accounts and external bank accounts under one login.
Mobile Banking Tutorials
Mobile Banking Registration

How to Register for Mobile Banking
Step 1: Download our mobile app from the “Google Play” or the “Apply App Store,” and access our app.
Step 2: Open the app then tap “Register a New Account.”
Step 3: Read the Digital Banking Disclosure and accept the agreement by checking the “I Agree” box, then tap “Continue.”
Step 4: Confirm Your Identity by providing your Birth Date, Social Security or Tax ID Number, and Member Number, then tap “Continue.”
Step 5: Verify your identity using the SMS Text or Voice Call option, then “Continue.”
Step 6: Enter the 6-digit code provided, then tap “Verify.”
Step 7: Enter a username and then click “Create Username.”
Tips:
- Do not use personal information for a username, such as your member number, any part of your birthday, or SSN.
- As much as we are flattered, do not use usernames such as “amocoacct.”
- Do not use symbols (@#$%&* etc) in the username.
- Usernames must be unique, at least 6 characters long, no more than 30 characters, and alphanumeric.
Step 8: Enter a safe password and then click “Create Password.”
Tips:
- Use a strong password with more than 6 characters.
- Use upper and lower case characters.
- Use numbers and symbols (@#$%&* etc).
- Keep your passwords safe.
Step 9: Use your new username and password, then tap “Log in.”
Step 10: Review your contact information and then click “Continue.”
You’re all set!
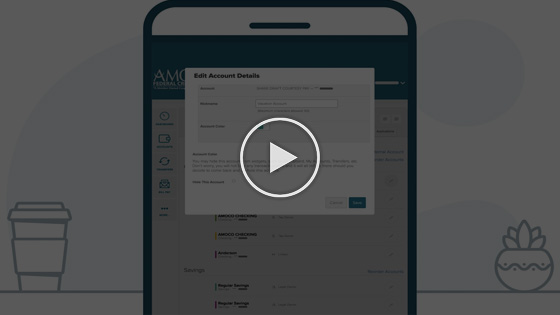
Naming Your Accounts

How to name your accounts:
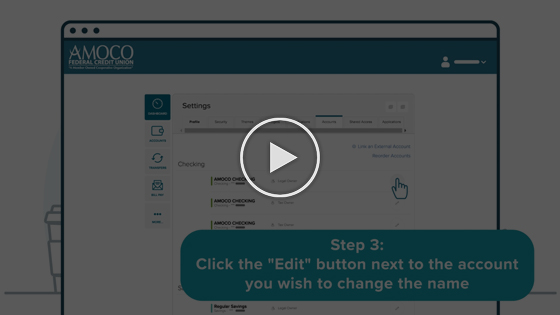
Step 1: Go to your account’s “Settings”
Step 2: Click on “Accounts” tab
Step 3: Click the “Edit” button next to the account you wish to change the name
Step 4: Click on the “Nickname” field and change it to a name that best describes your account
Step 5: Click the “Save” button
You’re all set!
Tip: Naming accounts, such as Checking/Savings, is a great way to keep track of each account’s purpose, and it makes it easier to distinguish at a glance between your accounts quickly.
Color Code Your Accounts

How to color code your accounts:
Step 1: Go to your account’s “Settings”
Step 2: Click on “Accounts” tab
Step 3: Click the “Edit” button next to the account you’ll change color
Step 4: Click on the “Account Color” swatch and select your new color
Step 5: Click the “Save” button
You’re all set!
Tips: Coloring accounts by type, such as Checking/Savings, is a great way to keep track of your overall relationship with us.
Coloring accounts by membership can help quickly distinguish between your accounts, and those you share. Try combining colors with the nickname feature, to create a custom account experience built by you!
Online Banking Tutorials
Online Banking Registration

How to Register for Online Banking
Step 1: From the main homepage, click “Access My Account.”
Step 2: Click “Register Here.”
Step 3: Read the Digital Banking Disclosure and accept the agreement by checking the “I Agree” box, then click “Continue.”
Step 4: Confirm Your Identity by providing your Birth Date, Social Security or Tax ID Number, and Member Number, then click “Continue.”
Step 5: Verify your identity using the SMS Text or Voice Call option, then “Continue.”
Step 6: Enter the 6-digit code provided, then click “Verify.”
Step 7: Enter a username and then click “Create Username.”
Tips:
- Do not use personal information for a username, such as your member number, any part of your birthday, or SSN.
- As much as we are flattered, do not use usernames such as “amocoacct.”
- Do not use symbols (@#$%&* etc) in the username.
- Usernames must be unique, at least 6 characters long, no more than 30 characters, and alphanumeric.
Step 8: Enter a safe password and then click “Create Password.”
Tips:
- Use a strong password with more than 6 characters.
- Use upper and lower case characters.
- Use numbers and symbols (@#$%&* etc).
- Keep your passwords safe.
Step 9: Review your contact information and then click “Continue.”
You’re all set!
Naming Your Accounts

How to name your accounts:
Step 1: Go to your account’s “Settings”
Step 2: Click on “Accounts” tab
Step 3: Click the “Edit” button next to the account you wish to change the name
Step 4: Click on the “Nickname” field and change it to a name that best describes your account
Step 5: Click the “Save” button
You’re all set!
Tip: Naming accounts, such as Checking/Savings, is a great way to keep track of each account’s purpose, and it makes it easier to distinguish at a glance between your accounts quickly.
Color Code Your Accounts

How to color code your accounts:
Step 1: Go to your account’s “Settings”
Step 2: Click on “Accounts” tab
Step 3: Click the “Edit” button next to the account you’ll change color
Step 4: Click on the “Account Color” swatch and select your new color
Step 5: Click the “Save” button
You’re all set!
Tips: Coloring accounts by type, such as Checking/Savings, is a great way to keep track of your overall relationship with us.
Coloring accounts by membership can help quickly distinguish between your accounts, and those you share. Try combining colors with the nickname feature, to create a custom account experience built by you!


